Fishin' Expedition Repairs and Mods

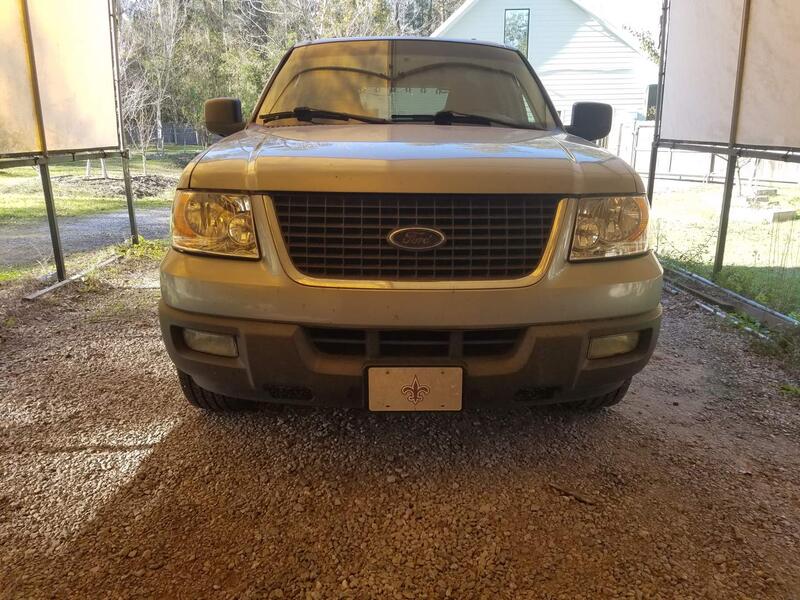
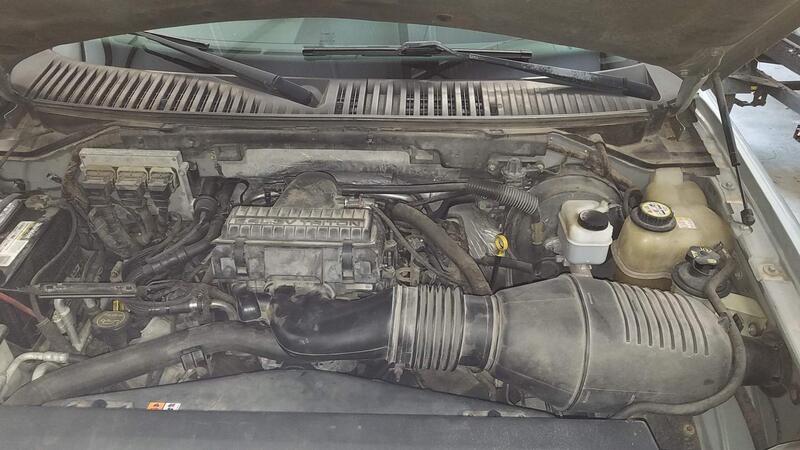
It has just gotten to the point leaving the dock with the time change it’s dark. My Expedition (Boat Puller) was bought and repaired just so I had something reliable to pull to the local boat ramps around here. Since its not new I hope the bad guys walk by it to something nicer. It is a 2006 model that was parked under a tree for 2 years, needless to say I had to resurrect it.

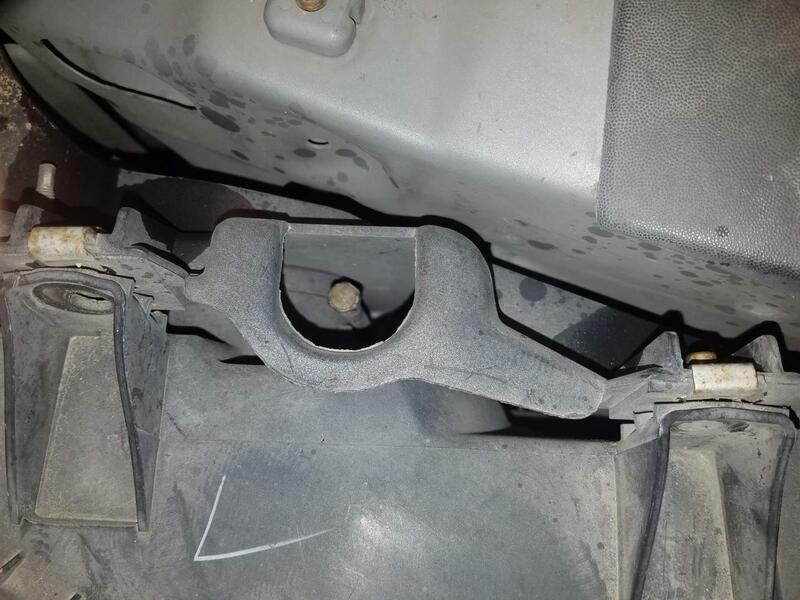
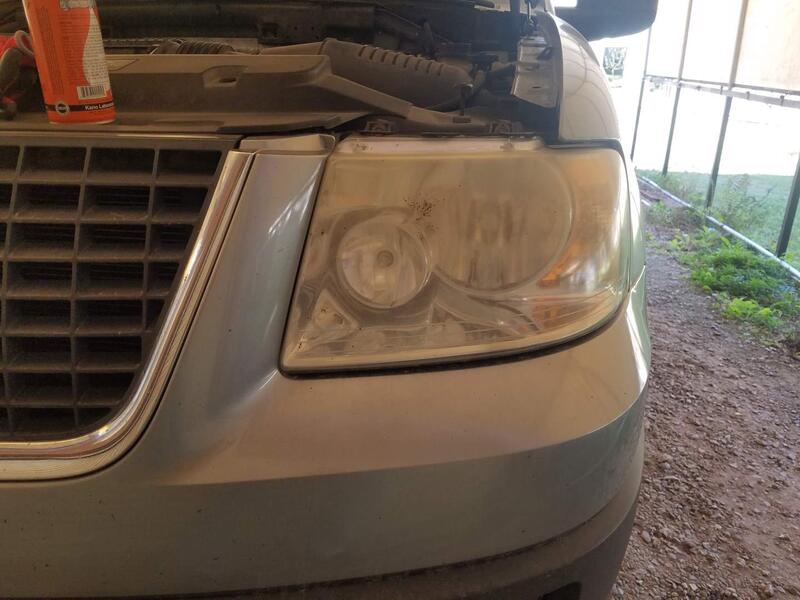
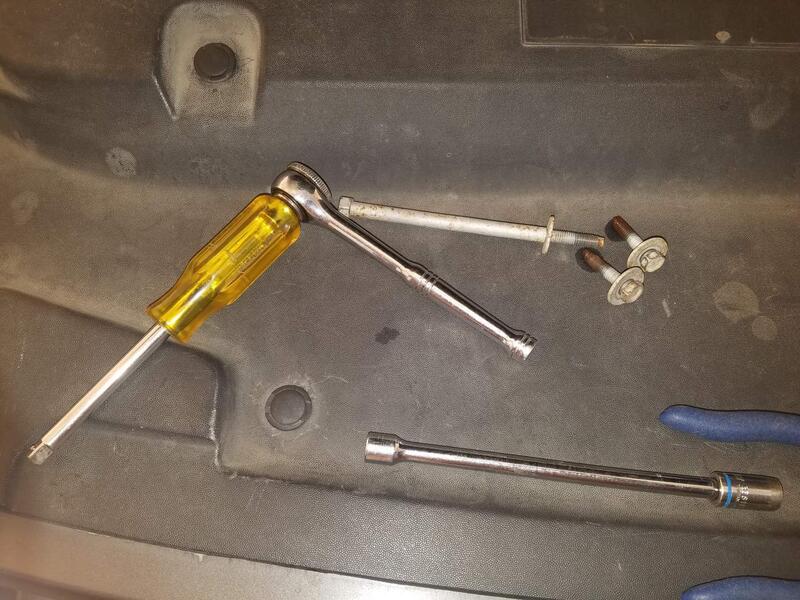
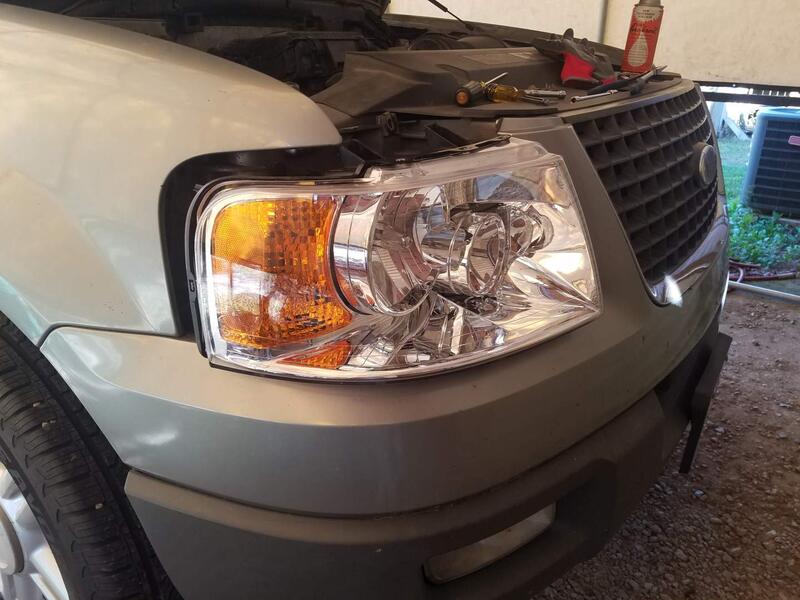
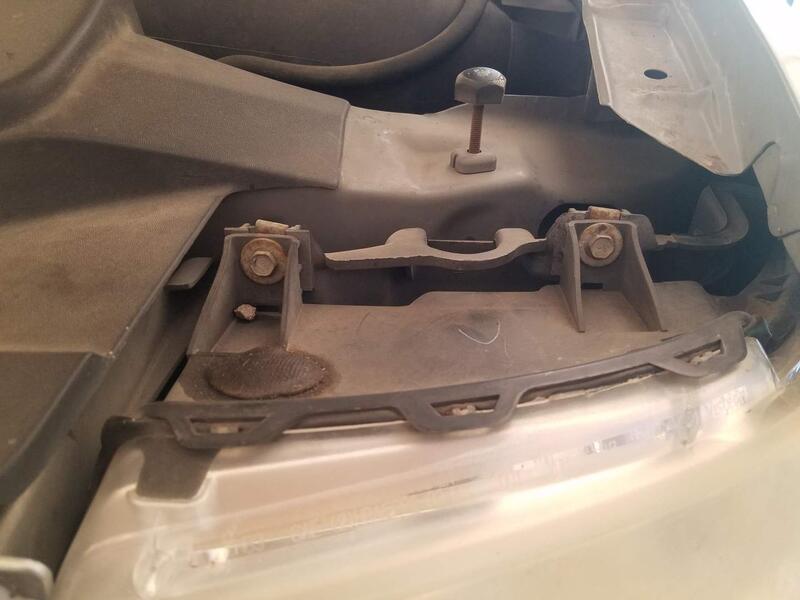
To pull the headlight fixtures it is only 3 bolts, 2 in the front high and only extended vertical bolt in the back. All 10mm. After just unplug the 2 plugs and the fixture is free.

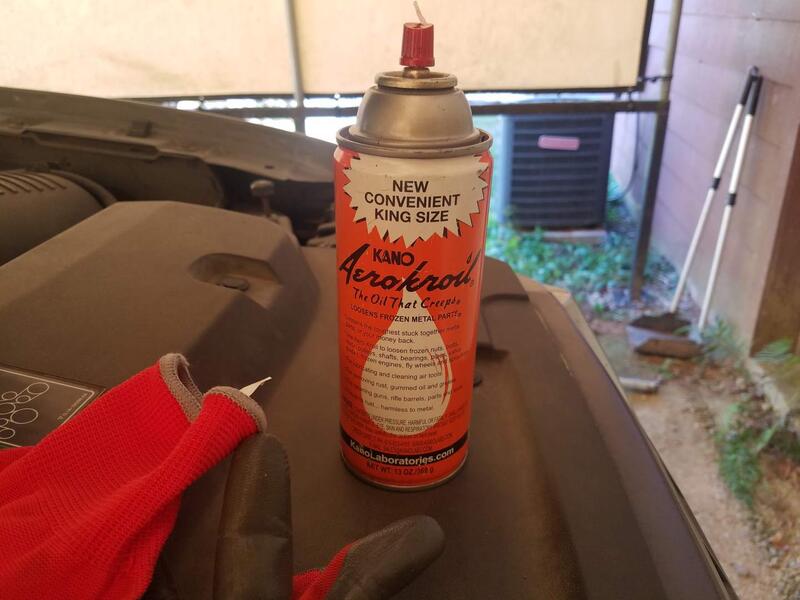
Spraying a bit of Kroil on the bolts helped them be removed. You do need extensions especially for the one in the back.

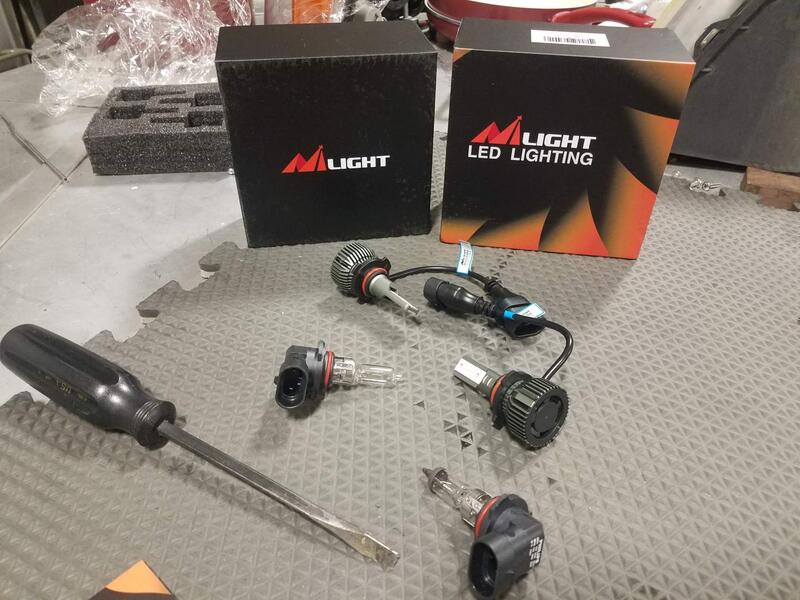
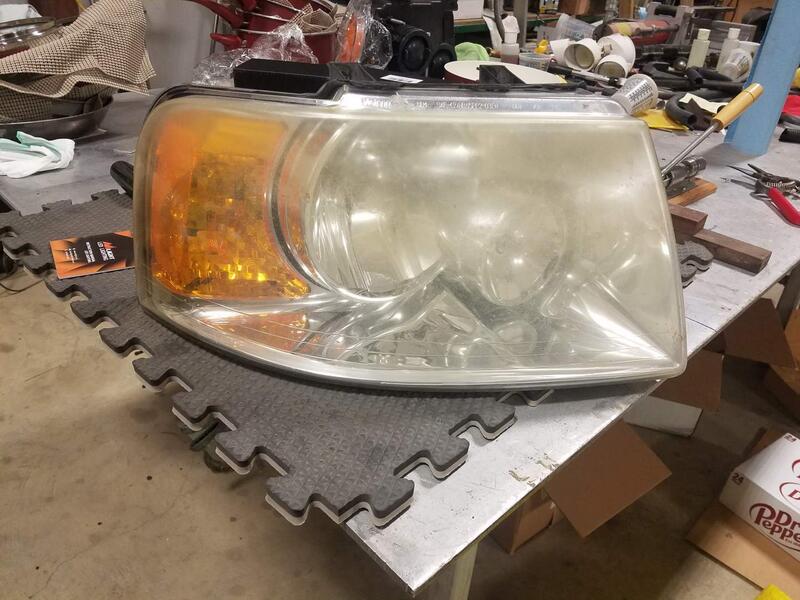
Although the new fixtures come with new Phillips bulbs I have been upgrading all our vehicles with these LED bulbs and what a difference it makes. Driving at night is way easier when you can see to drive. The Silverado trucks both got the LEDs with a small Ballast. The original fixtures were burned up by the Sun.

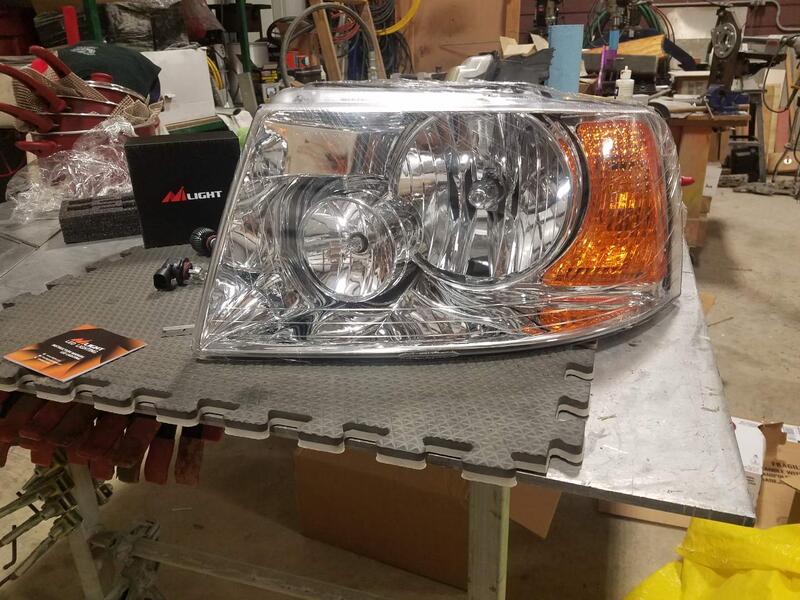
These TYC fixtures are CERPA certified for less than $70ea. They come with a cling wrap coating over the lens. Still amazes me the difference new Headlight fixtures make. I just need to adjust the Beams now.

I imagine they are much brighter than original. I changed just the bulbs earlier this year in my wife’s car to LED and that made a huge difference. The whole light fixture I imagine is way better.

Prolly making the switch here in 2024. I’ll be putting them in our Grand Cherokee first then the Toyota. Should help us at night.

Nice! This Expedition would be the “something nicer” that crooks would move on to if I was parked beside you. lol Looks way better than my truck. Ha!

Sent from my iPhone using Crappie.com Fishing mobile app

I understand, I wish I took a picture of it when we unloaded it off the Flatbed. I got a 1/2 gallon of water out of the gas tank that I’m confident it was condensation. But I’ve had it for 5+ years now so I am always improving my old rides.

So owning 4 out of 5 older vehicles and all 4 had something to fix. The other day heading out to the river the heater wouldn’t blow hot air, I could hear a clicking sound coming from near the blower area. After researching the problem I found out there are small plastic gears in the HVAC door motors that strip the teeth. This is the video I watched before attempting the repair. I will tell you this the Ford Mechanic (Very Good Mechanic, my Guru on Ford Repairs!) must have much smaller hands than mine. My hands are cut up from shoving them between all the metal and plastic.

//youtu.be/y2Bh4pN27zI

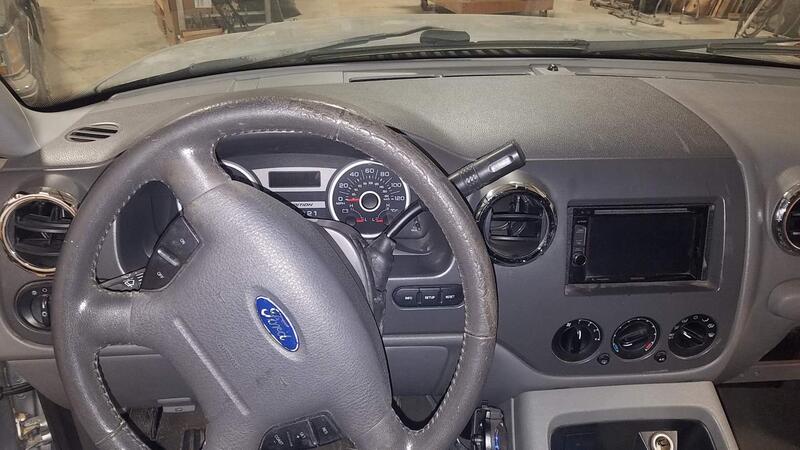
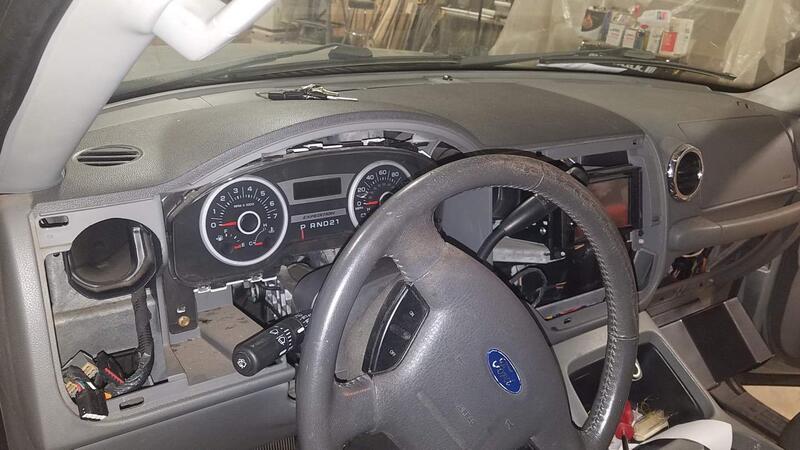
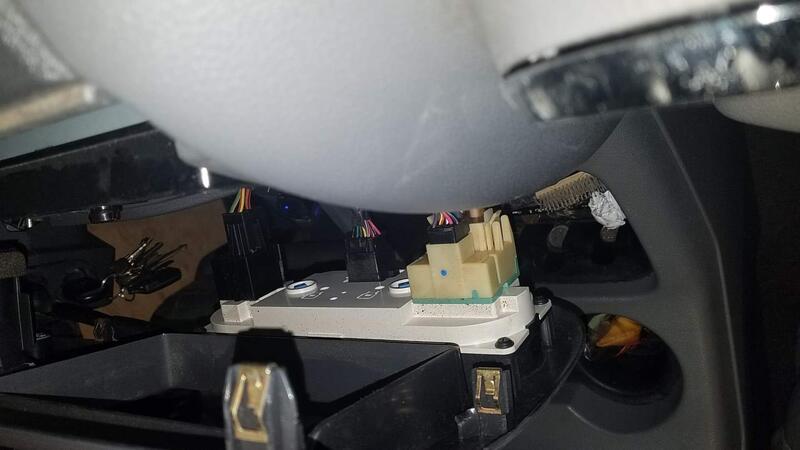
You start out by stripping the Instrument Cluster trim off. Numerous switches are mounted within so you must unplug everything before removing. I had to remove the stereo too.

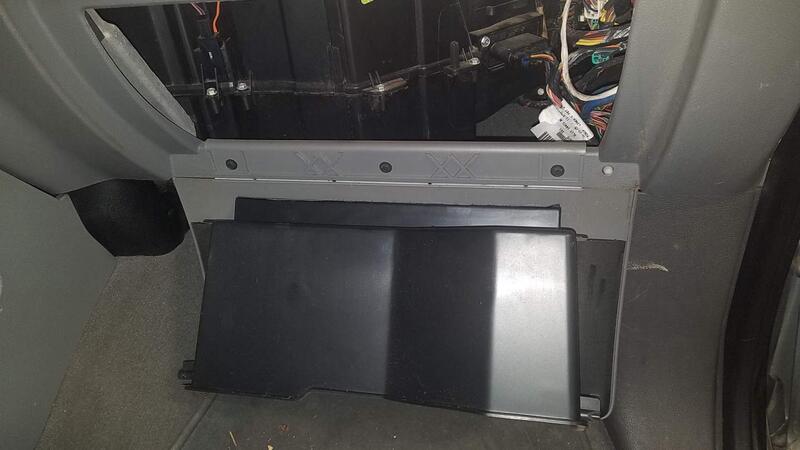
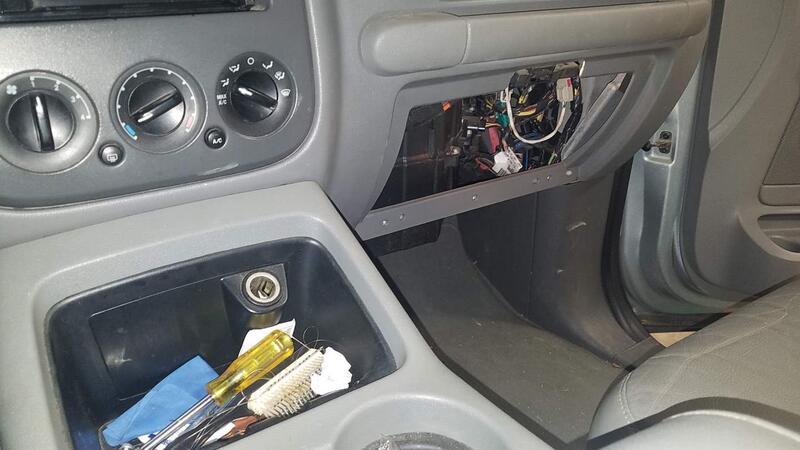
After clearing out the big stuff I had to remove the glove box too. I could not fit where I needed to to get my hands shoved up in the hole made by it’s removal.

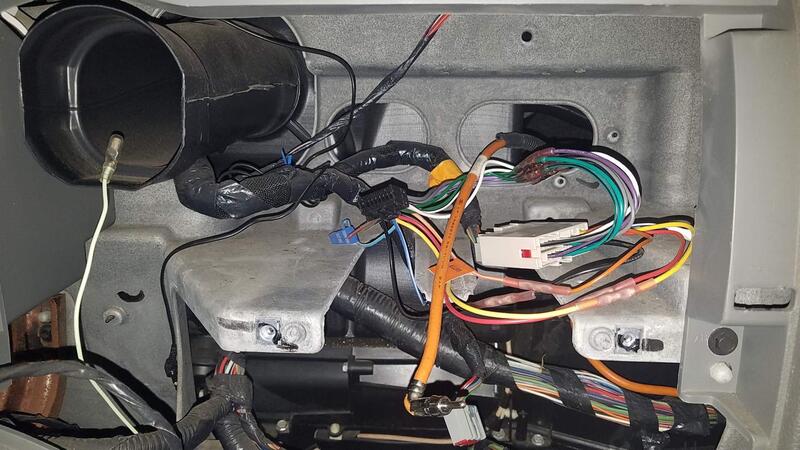
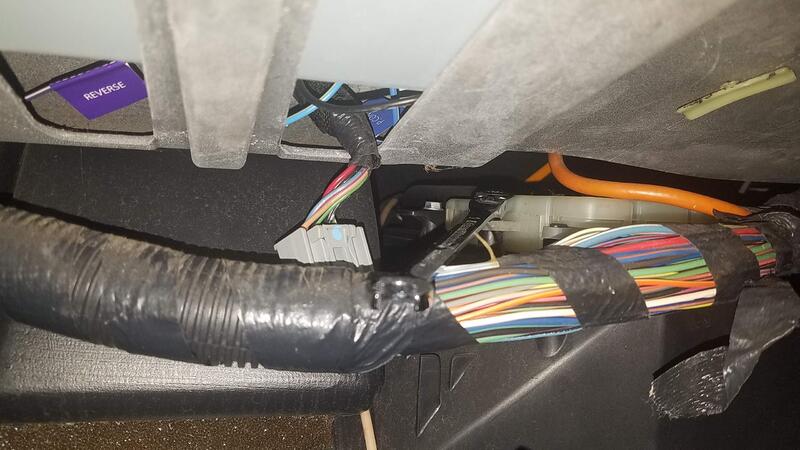
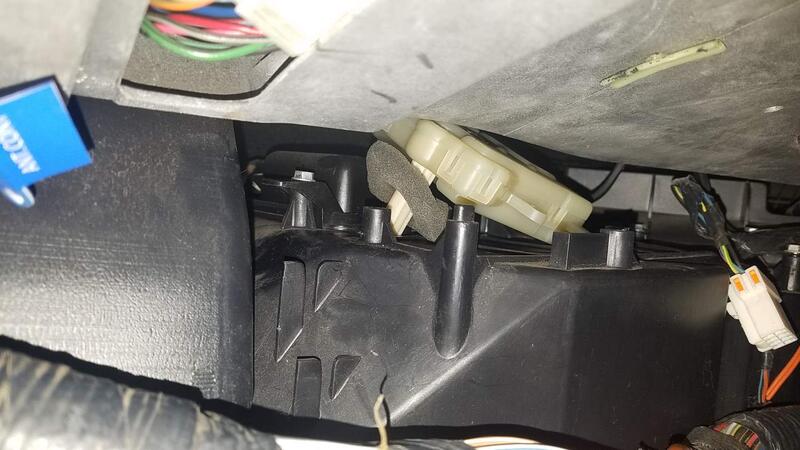
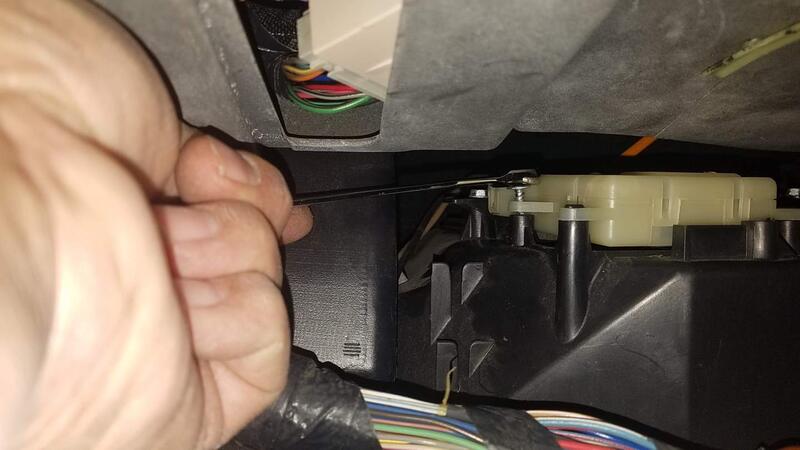
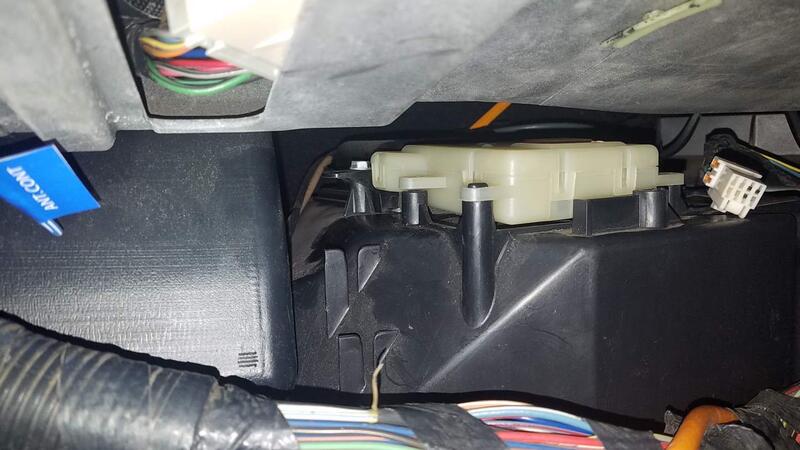
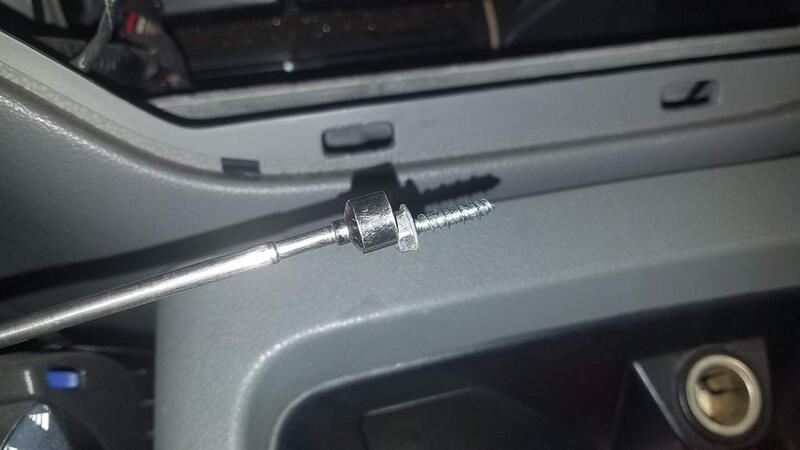
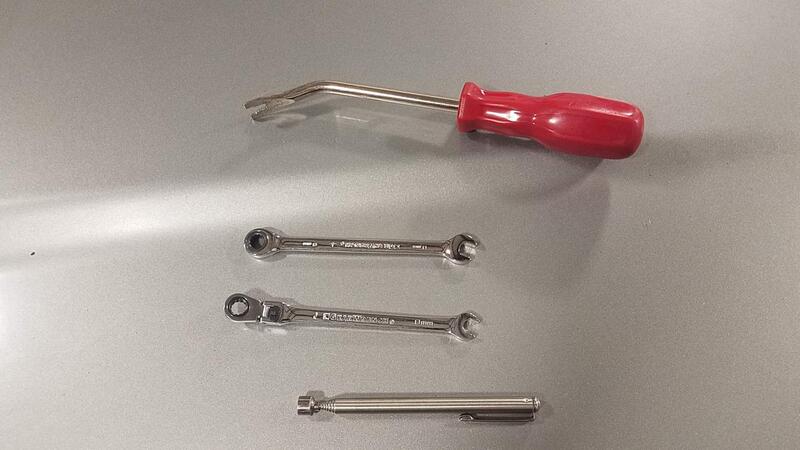
So the Blend Door Motor is way back under the dash. Under the radio the clearance was so tight I couldn’t get a single finger to fit far enough back to hold the Gear Wrench on the back screw. I used my Cat Claw (Red Handle Trim Tool) to hold the wrench down while moving the handle between the tips of two fingers on my right hand working thru the Glove Box opening. I will say it now, that back screw was Never going back in from the start. Well I stuck to the plan, if I ever take the dash off I will install it then, until then though I will have cold AC and Hot Heat.

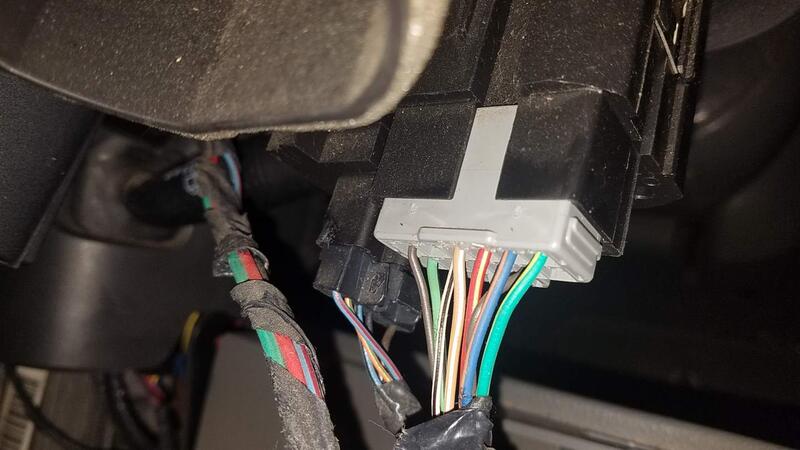
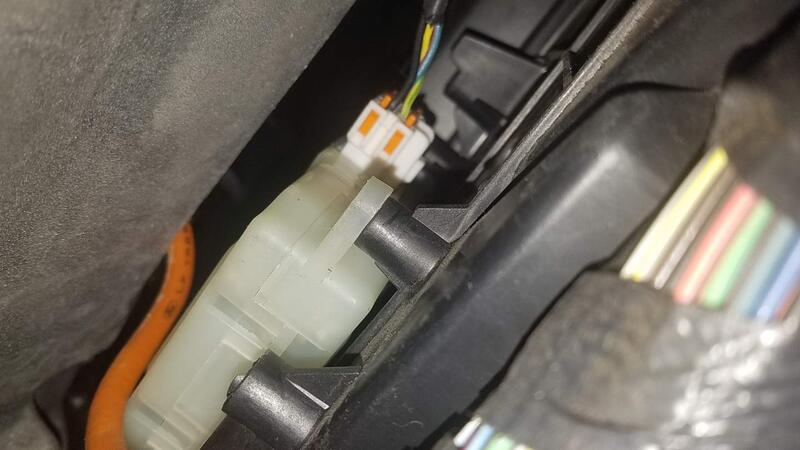
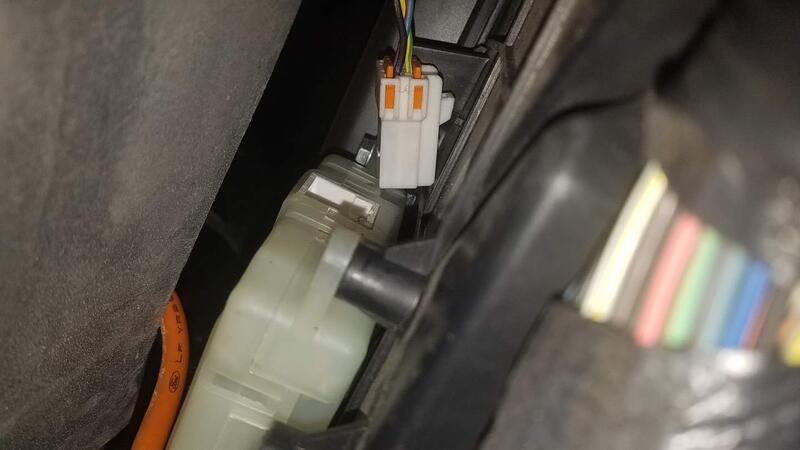
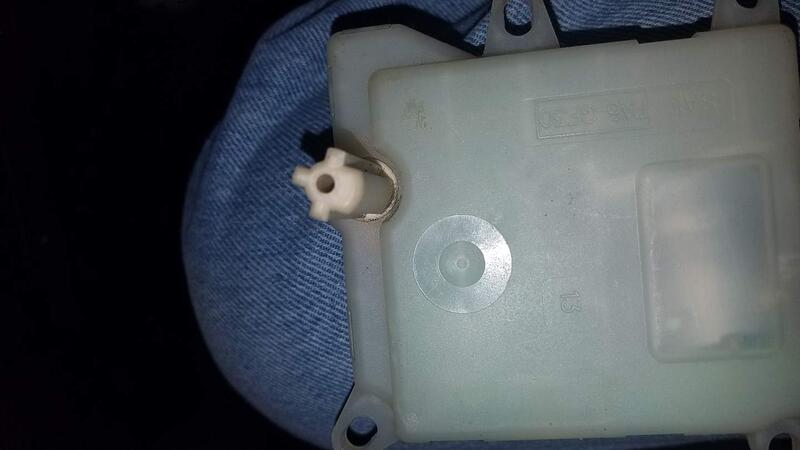
The back screw is the screw behind the Blend Door Motor Plug. The plug I had to slip a very long handle flat screwdriver in between the lower tap and the HVAC housing. Once I lifted the tap on the plug I had to rotate the screwdriver blade walking the plug out of the hole. The last picture is a shot of the space the Motor came out of, the screw laying on its side fell out from the back screw hole and rolled under the motor. BTW the angled pictures are because the space is so tight only the corner of my phone would fit to get a shot of what I was working on.

The Motor Drive Shaft only fits in one way so while walking it back into the hole it came out of I had to keep the air seal on the shaft while rotating the Motor till the shaft fit. Once the shaft started down the Motor still had to be rotated into its resting place before installing the screws I could get back installed. The replacement motor shaft position is not the position of the one you remove.

I could not have done this Blend Door Motor replacement without the 2 Gear Wrenches both 8mm, the Cat Claw, and a Telescoping Magnet.

I always have extra parts when done with projects. Most the time those engineers over-engineer stuff anyway.

And new headlights make a world of difference for sure.

Great job Rojo.

The 5.4 3Valve Ford engines were around 2004-2007 and were installed in the Ford Expedition & F150 Trucks with a 4 speed Automatic Transmission. If you have one of these you may want to know this information to Upgrade the Towing Capacity of your vehicle. If you have a factory Transmission oil cooler, factory trailer plug (flat), and a Rear End code J6 (3.73 Ratio Limited Slip) you vehicle is rated to tow around 6,800 pounds max for a 2 wheel drive, 4 wheel drive is about 300 pounds less. My Expedition has the 5.4 3V Triton Engine, the above factory towing options, and I want to increase the towing rating to 8,900 pounds for a 2 wheel drive. To do this a larger Radiator, Transmission Oil Cooler, and Brake Controller must be installed. This post is replacing the Radiator only. I will cover the Transmission Oil Cooler upgrade in the next installment.

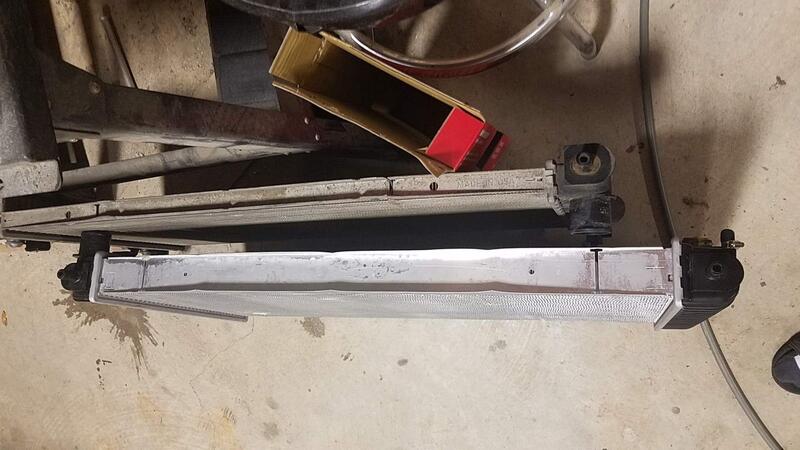
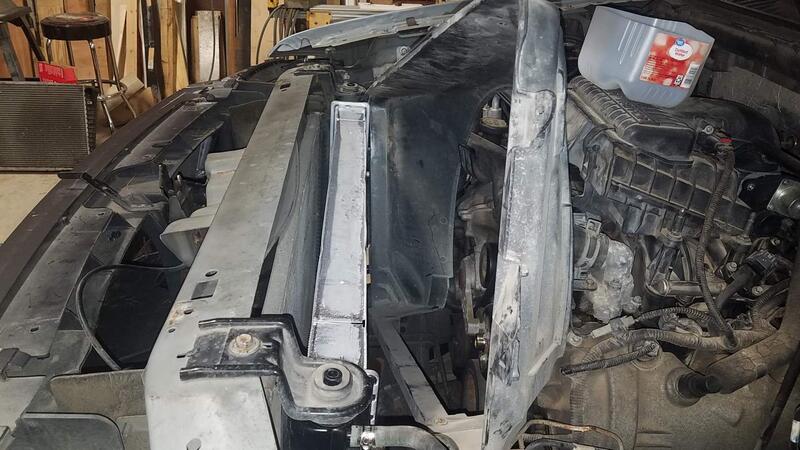
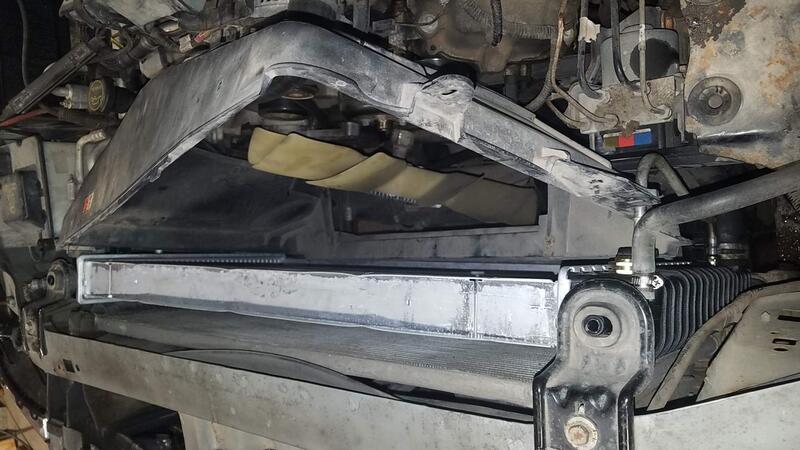
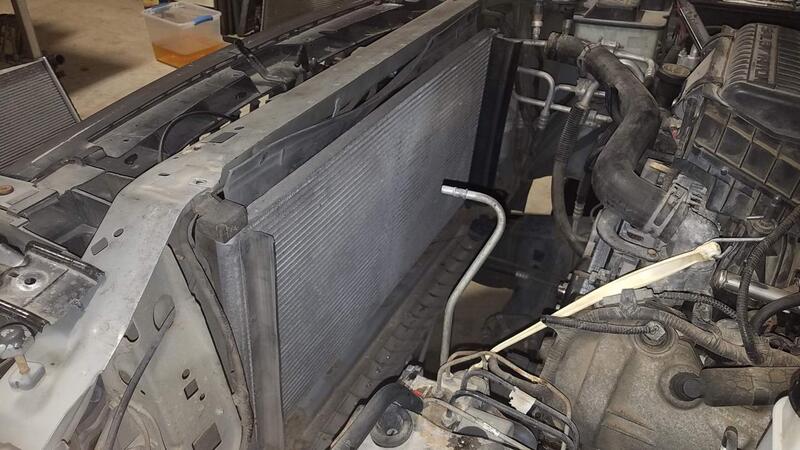
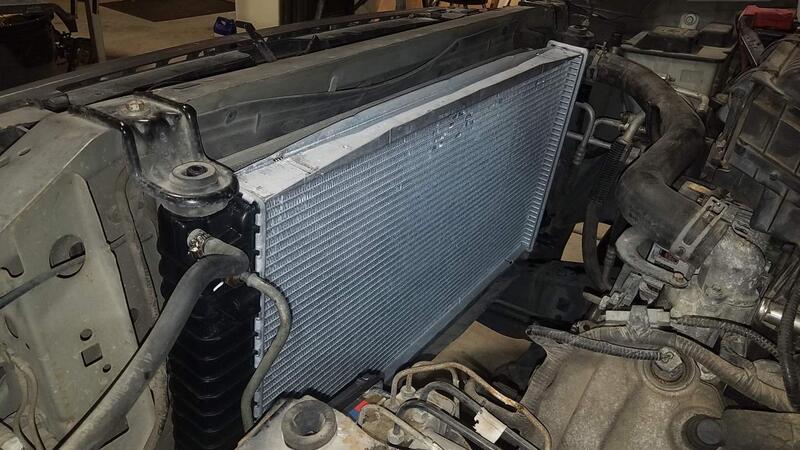
I’m starting out here kinda in the middle of the job to show you the difference in the size of the core between the original Radiator and the new Radiator. The HD Towing Radiator is much thicker. Fits in the same location, everything else is the same. I bought this HD Towing Radiator from Rock Auto. I took all the pictures when putting everything back together.

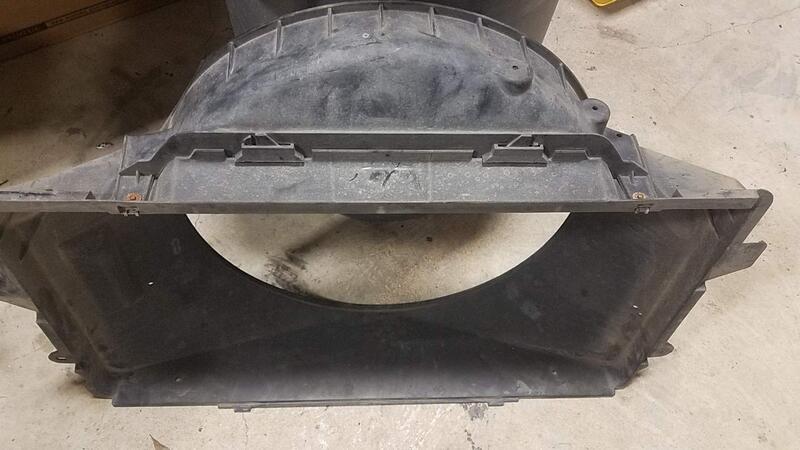
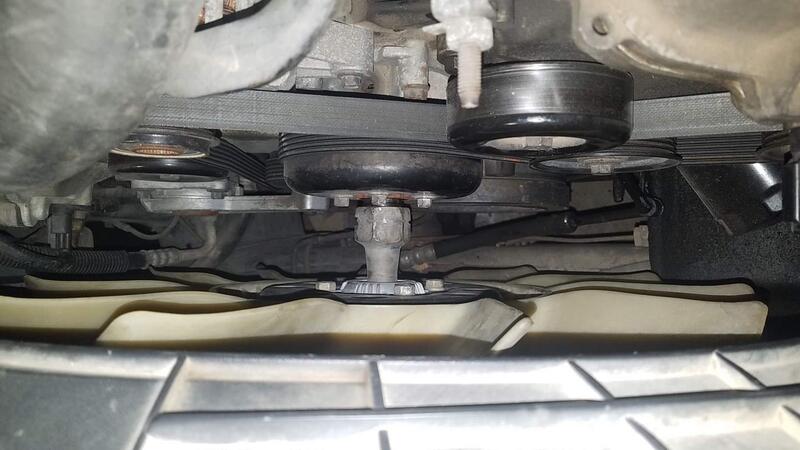
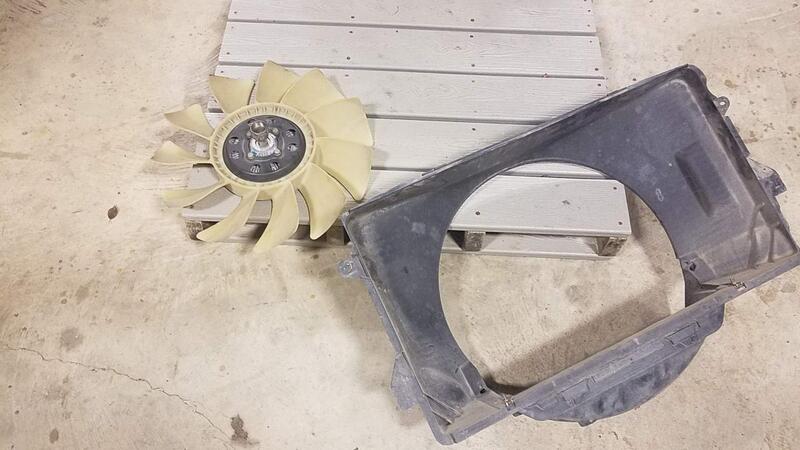
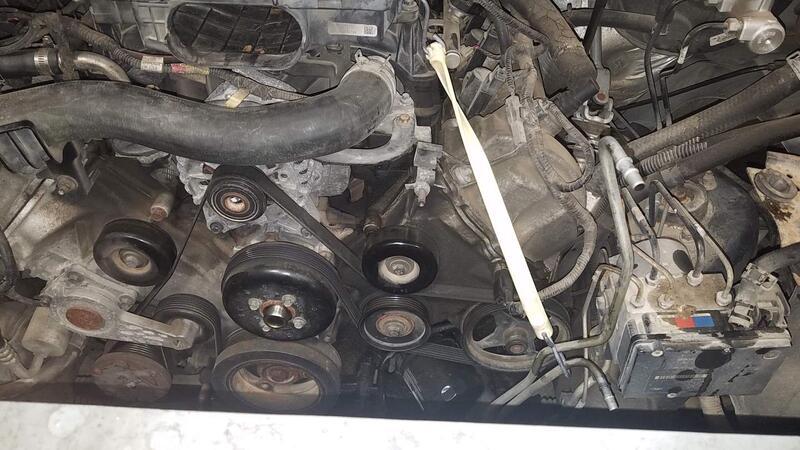
The first thing to do is to remove the plastic Radiator cover which is held on with plastic push rivets. I use a Cat Claw Trim Removal tool for that. After the plastic cover is removed you need to remove the small crossover Fan Shroud Cover on the bottom of the Fan Shroud. It is removed from under the vehicle. Here is a picture of my Fan Shroud upside down so you can see the removable center section.

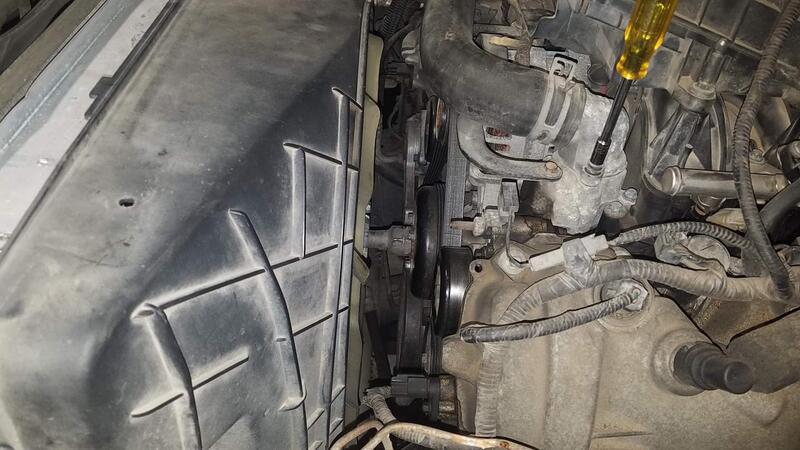
Once the Center Section is removed the rest of the work can be done from up top. I wanted to remove the Fan / Fan Clutch assembly together to give me extra room to work so before I did anything else I loosened the Fan Clutch where it threads onto the Water Pump.

I want to mention here if your Fan Clutch goes out you will first notice your A/C not cooling when sitting still but when you are driving the A/C Cooling will return. That is because the Fan Clutch on these engines is special HD units. Do Not replace with an aftermarket one you will have more problems with the A/C later. I installed a NAPA Fan Clutch in mine when I felt it was too loose and failing. Well until I went to a Ford Dealership and bought a Factory Motorcraft Fan Clutch did my A/C work sitting in traffic, engine idling.

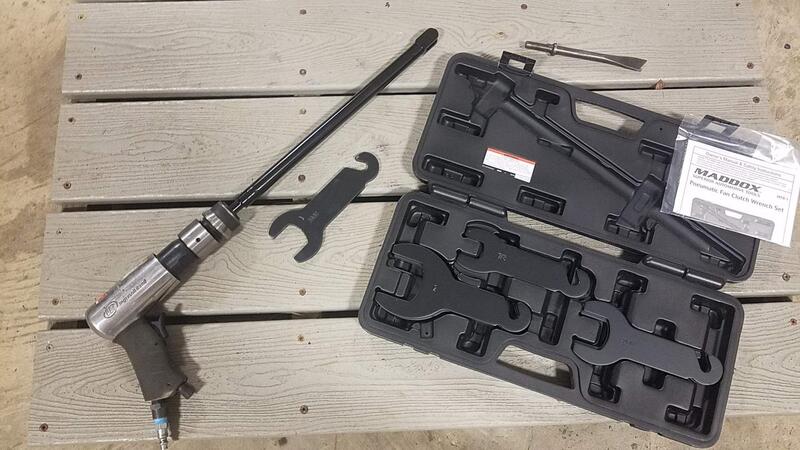
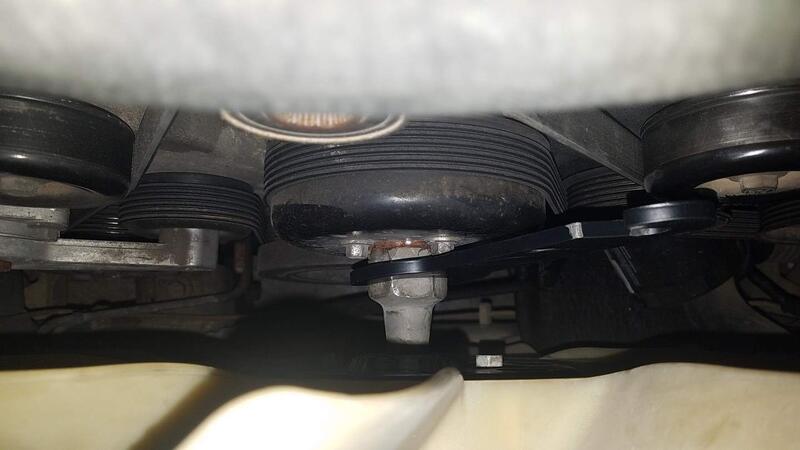
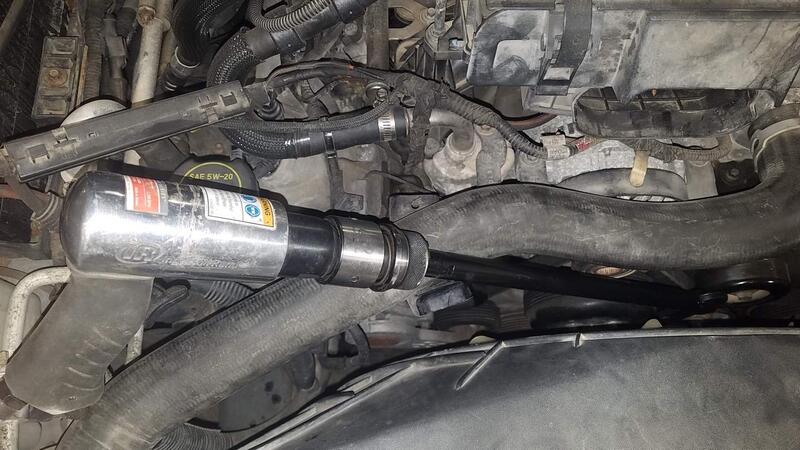
Using my Fan Clutch Removal tool and a Air Chisel I first place the 36mm Wrench on the Fan Clutch Hex Head.

Then I lock the Air Chisel Driver onto the Hook on the end of the 36mm Wrench to loosen. Counter Clockwise to loosen, Clockwise to tighten. The Wrench is in position to tighten.

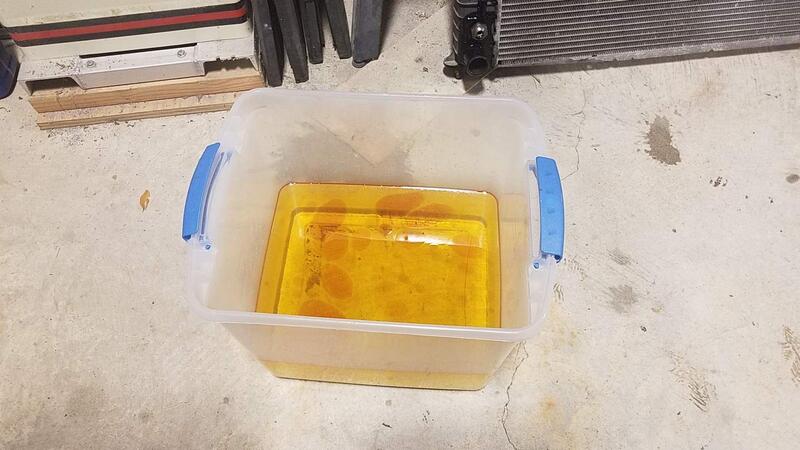
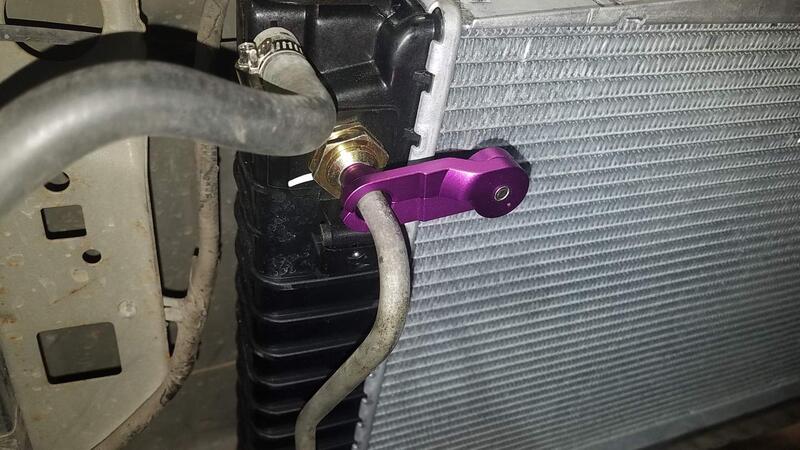
Once I loosen the threads on the Fan Clutch I remove the Coolant from the Cooling System. On the Passenger side of the Radiator down at the bottom is a small valve with a 3/8in Barb pointing towards the side of the vehicle. You slip a piece of 3/8in ID hose onto the barb, place the other end into a suitable container, remove the Coolant Reservoir Cap, then open the valve. The Coolant will now drain out almost everything.

About 2+ Gallons was removed. Now I unbolt the 2 bolts holding the Fan Shroud in place, unscrew the Fan Clutch and after laying the Fan Clutch to the back begin working the Fan Shroud out. You see the Lower Radiator hose is disconnected, these pictures were taken when I was putting the Shroud back on, no worries.

Once removed I just set the Shroud & Fan on the side till later.

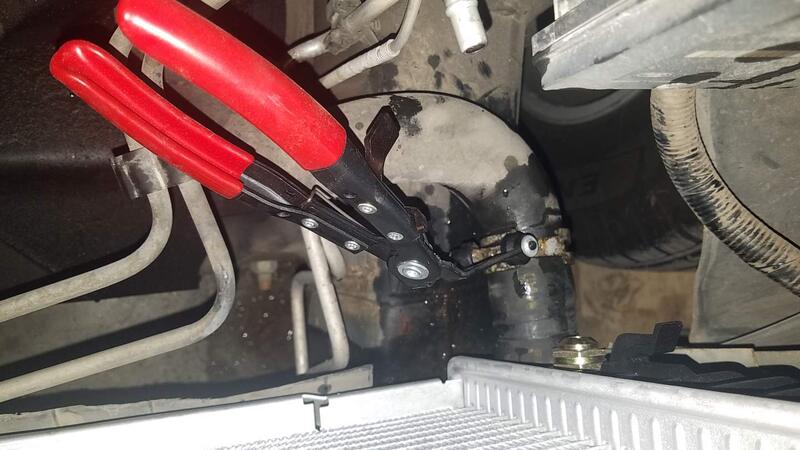
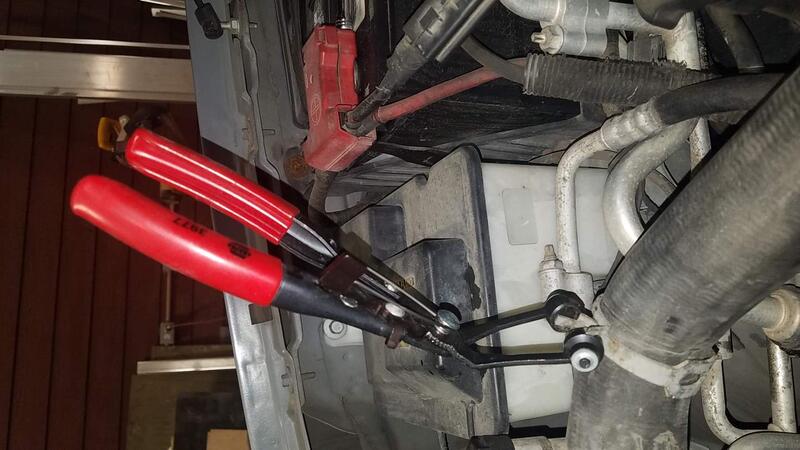
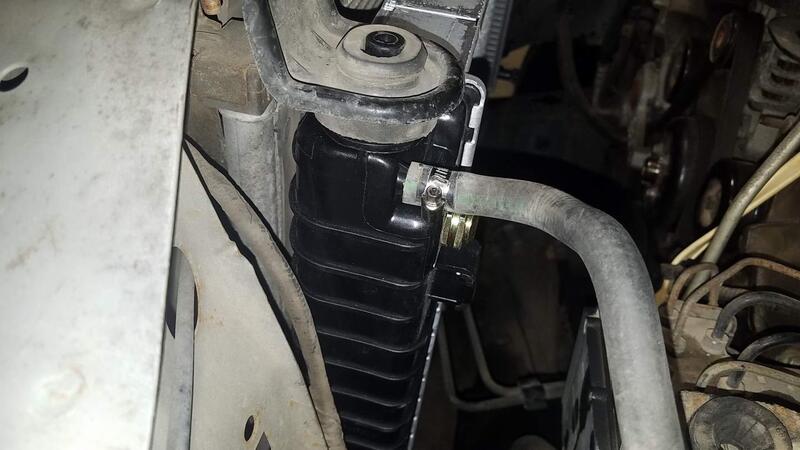
Now remove both Radiator hoses. I use Hose Clamp Pliers for the task. Really makes handling the clamps a breeze as it locks the Clamps open. Remove the Coolant Tank hose to the Radiator too.

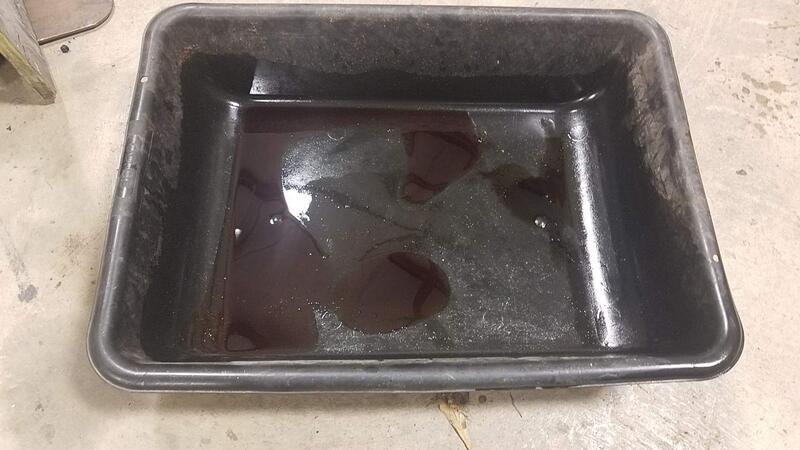
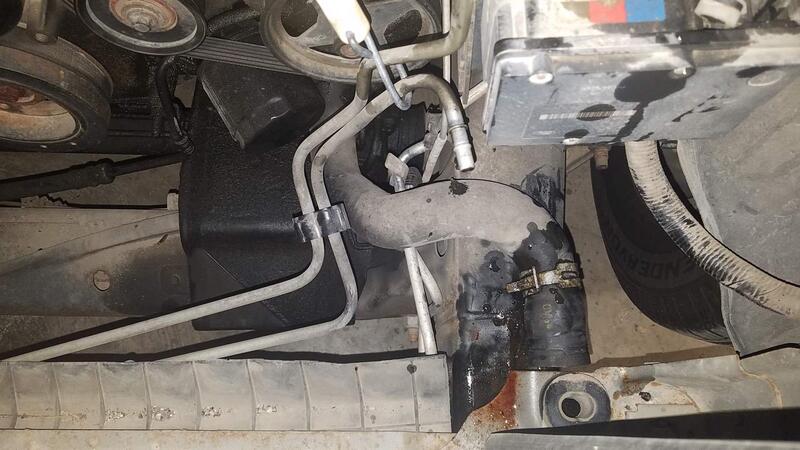
Now the Transmission Lines. You must buy the correct Transmission Line tool. This one came from Amazon in a set with a tool for 1/2 in FORD Transmission lines. Place a large pan (I use a mortar mixing pan) under the frame on the Driver’s side beneath the lines. Transmission oil will be lost.

You lock the tool around the line and just push in, the line is released so it can be pulled out.

I used a Bungee to hold the lines back out of the way when I set the new Radiator in place.

There are 2 13mm bolts that hold the Radiator in place. Reinstall them after setting the Radiator and at this time I put the Fan Shroud and Fan Assembly back on. I set the fan down inside the engine compartment first leaning it rearward while lowering the Fan Shroud over it, working the Shroud back in place. It was easier going in this way. I then connected the Transmission lines, Radiator Hoses, & Coolant Tank Hose.

After the assembly was complete and my research directed me to replace the Thermostat with a cooler temperature one. The OEM Thermostat was a 195 degree unit, I installed a 180 degree unit. My Expedition is driven for towing most of the time or it just sits. With my 2500HD Silverado getting crushed in the Tornado a month or so ago I made these upgrades to the Fishin’ Expedition to Tow my Camper in a Emergency if we are hit by a Hurricane. With Hurricane season on top of us those that prepare for the worst usually can handle one when hit.

There are 2 I think 8mm bolts that hold the Water Outlet on, be sure you have a new O-Ring gasket for the Water Outlet when changing the Thermostat.

This is a Super Stat, when it fails it fails OPEN so you can get where you are going. They cost more but worth every penny in Pease of Mind.

Fords of this era used ZERKS Coolant, I do not believe in a Universal Coolant unless it is a new Build, if not I use OEM Coolants only.

A 50/50 mix with Distilled Water on the refill and a few Burps, then you are good to go. Burp your vehicle, turn the Heater Control to full Hot, start the engine and let it warm up a couple of times allowing it to completely cool off before the next cycle. This Burps trapped air into the Coolant Reservoir. I may edit this if after reading later I think of a better way to explain something.
Dang, you got all the right tools to make jobs easier. That new bigger radiator is really gonna keep things cool. Heck, even just a new radiator in an old car helps tons.

Great looking tow rig

I have bought tools my entire working life and have lost very few. I had to build a shop to hold them all. Still working on newer vehicles means buying newer specialty tools to complete a repair. I look at it this way, I have not had a car note since 2012 so I buy a tool or parts, to me it’s the substitute for a car note but with only one payment coupon not 48-60 months worth.

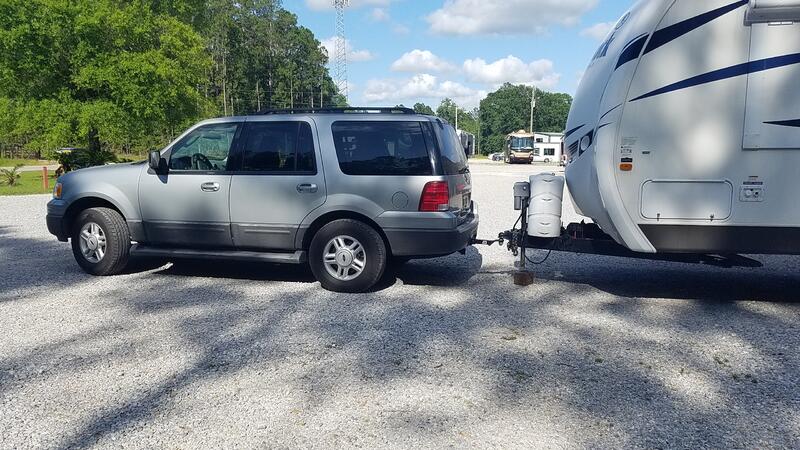
Thanks Bud. I had to buy a Weight Distributing Hitch for it and set that up. I will post a picture of the camper on the back of the Expedition (the Expedition has a set of Load Levelers under it at the time I took the picture).

This is without a Weight Distribution Hitch. Fastest I could go was 50mph, camper would start swaying steering the Expedition.

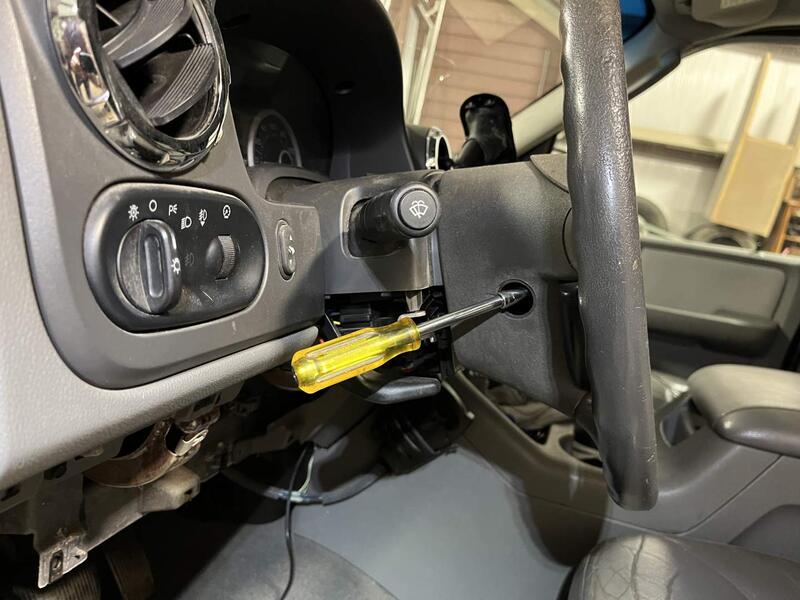
The shifter handle feels like the transmission shift lever detent is not quite right. I waited till I got the bushings in to fix along with another Multi-Function switch (I replaced when initially brought the Expedition home on a Flatbed). After watching YouTube videos I knew exactly what I needed, WRONG! Numerous videos say the Expedition is made the same as a F-150 but it is not. I didn’t figure that out till I had the Dash stripped out. Here again my mind was on the repair not Blogging so a better job could have been done with the pictures.

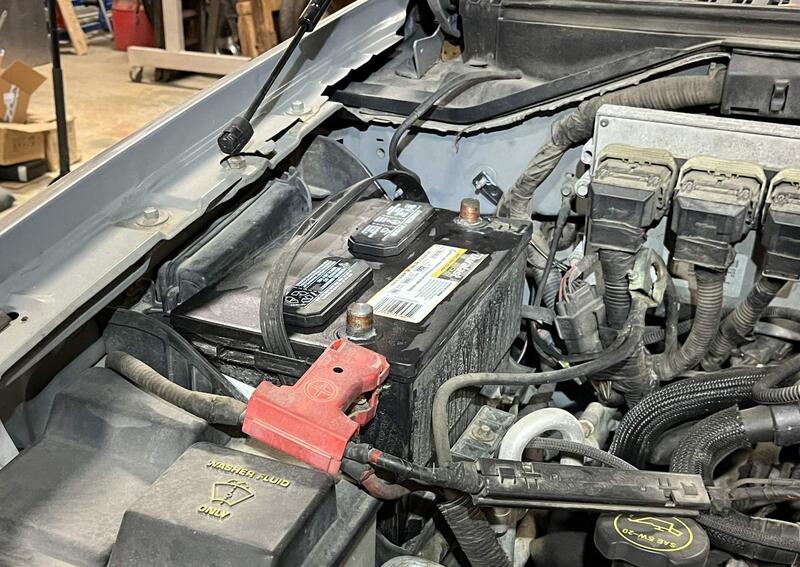
Any time you work around Air Bags much less are removing a Air Bag take off both battery terminals and wait 30 minutes before proceeding.
.

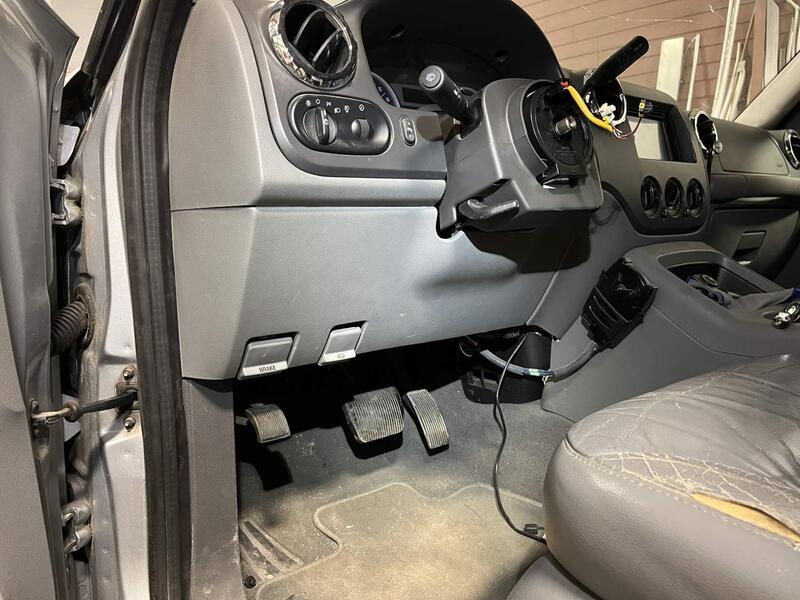
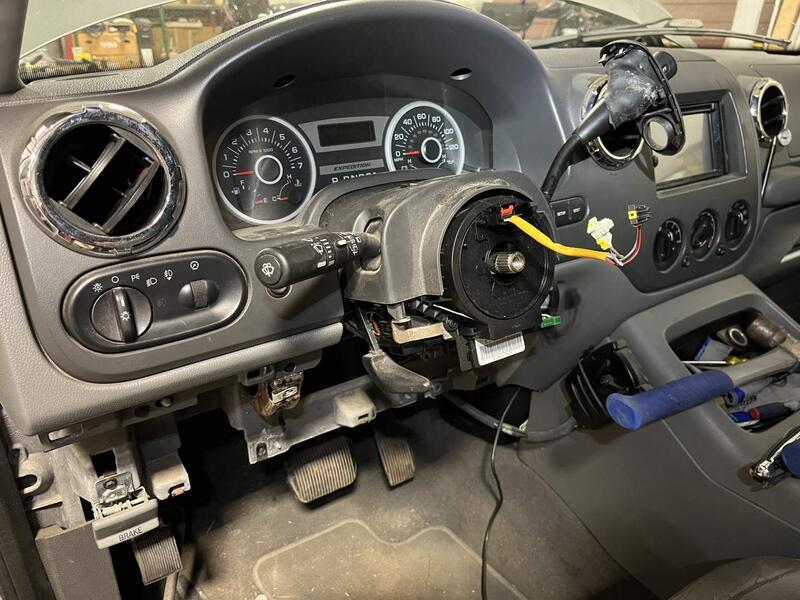
I’m using this picture twice because it shows the underside dash intact. All of that had to be skinned out because I was expecting to drop the Steering Column.

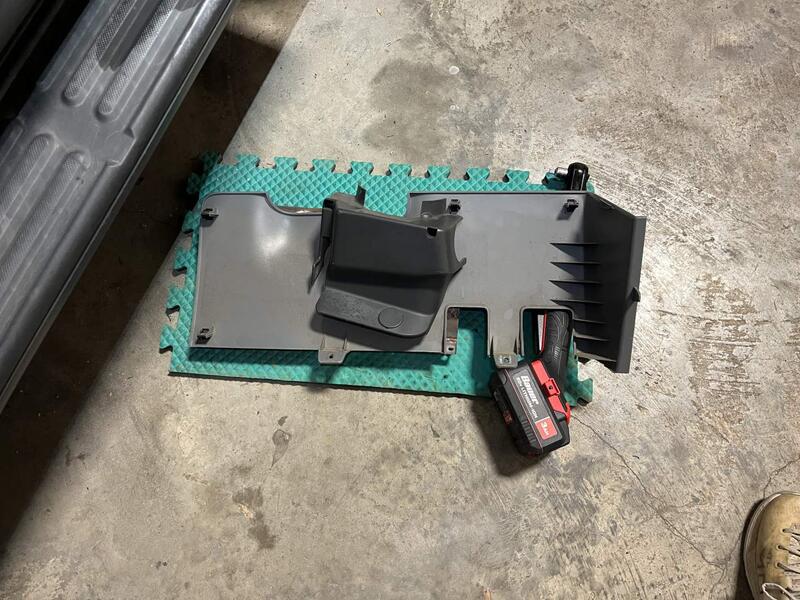
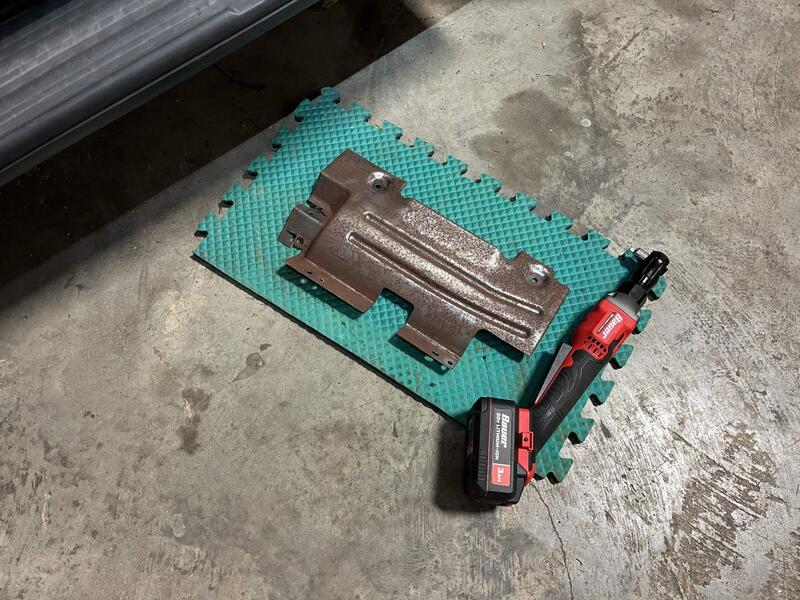
The Plastic Trim and dash reinforcement was removed for access to the steering column bolts before I knew the Expedition was different.

You are supposed to remove the steering wheel before the trim behind it but I’m still operating on the video examples at this time.

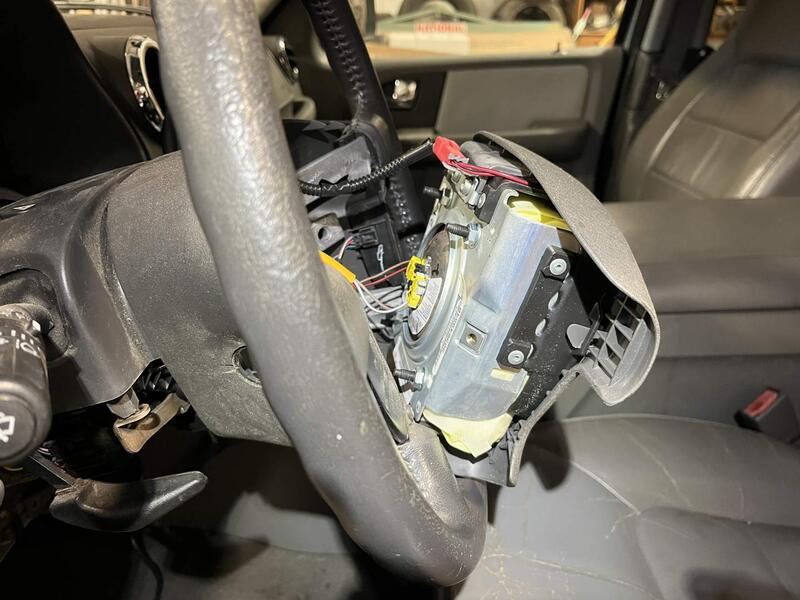
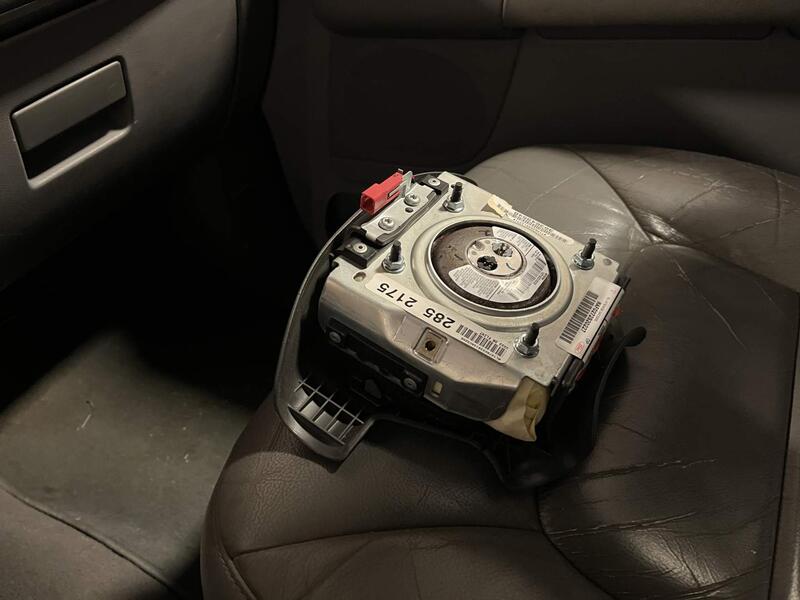
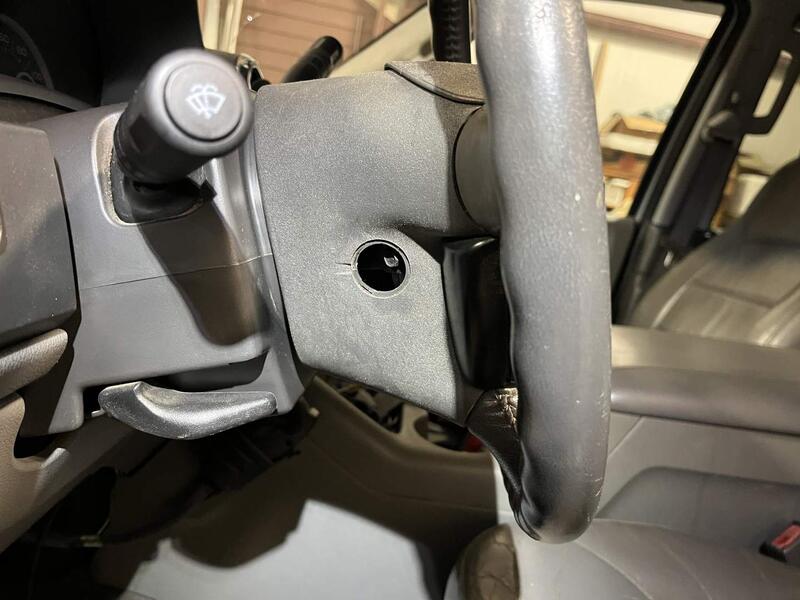
To remove the Air Bag there is two plastic trim discs, one on each side of the steering wheel that you pop out with a pick. Behind them are 2 bolts, one in each hole, 8mm socket, they are on a rearward angle, remove them and the Air Bag is free to tilt forward. You first unplug the Horn wiring then the Air Bag wiring.
I just put the Airbag on the passenger seat while continuing to work.

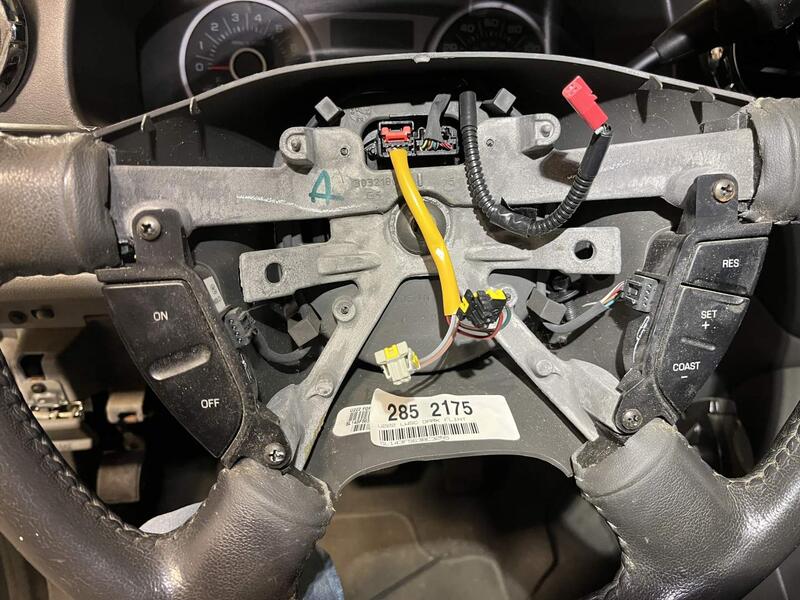
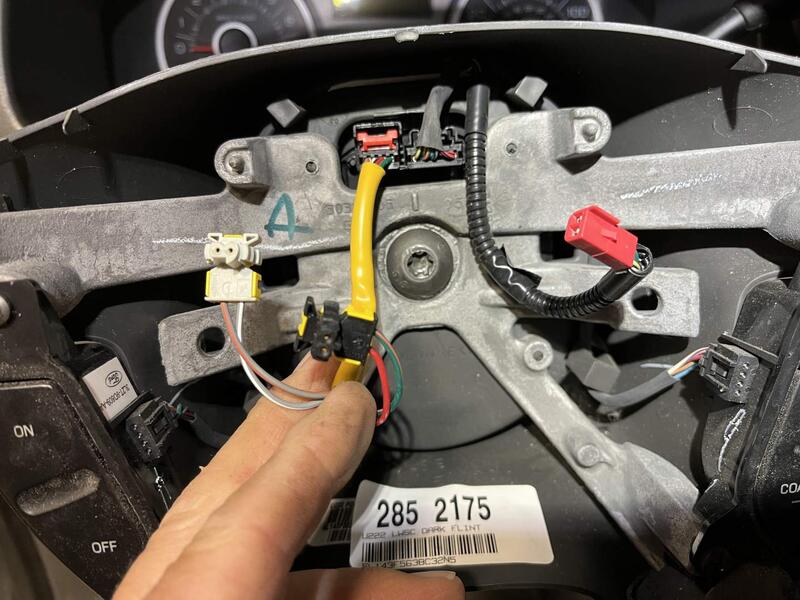
The steering wheel has a T-50 TORX bolt in the center. After loosening the bolt a small 2-Jaw Puller is used to hook each side of the steering wheel to pop the wheel free. The red connector is the horn and the yellow wire connectors the Airbag.
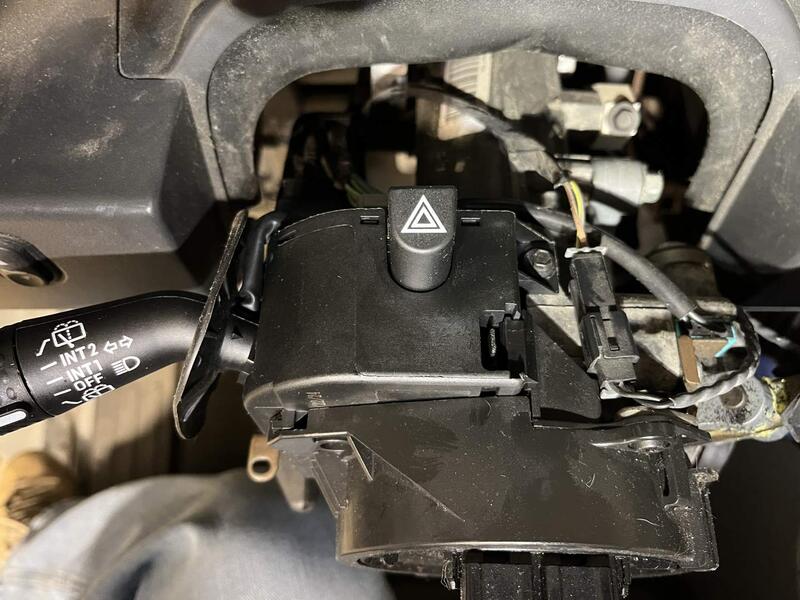
With the Steering Wheel removed you can see the Steering Column trim extends pretty far into and under the Steering Wheel. The Multi-Function Switch (Turn Signal Switch) is under the Upper Trim Cover.

A single 1/4in socket head screw holds it in place. Once you remove the screw and pull the tab back on the opposite side the switch lifts straight up disengaging from the slots securing it in place.

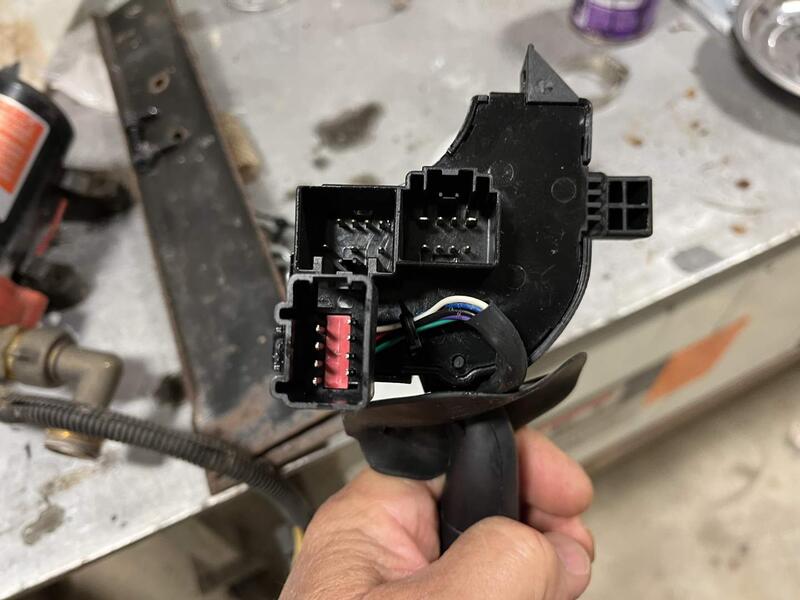
There are 3 connectors on the back I used a tiny flat blade screwdriver to release them all. This switch was replaced when I bought the Expedition, it is a Wells brand, well it lasted 44K miles. I thought I was buying a different brand but once I got the switch out I realized I bought the same brand. Let’s hope this tow vehicle is around another 44K miles.

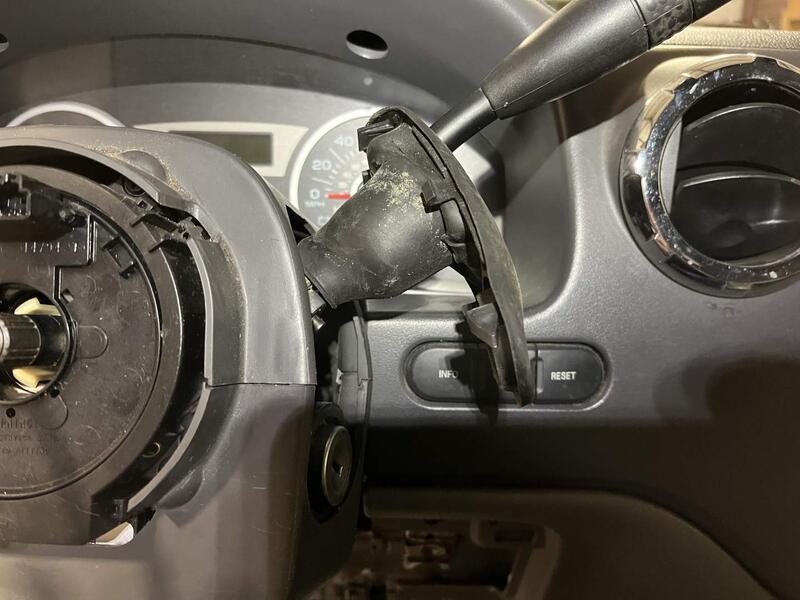
The Shift Lever Trim is a little tricky getting back in place. There is a Tit on the top that fits in a tiny hole, I just couldn’t see the hole at first so it must be in place before the two halves of the Steering Column Trim will mate.

The Airbag wire connectors are color coded so be sure and plug the correct color connector into the matching color socket.

Here is better pictures of the access covers to the Airbag retaining bolts. You can see the bolthead peaking out. Once everything is back together you can re-connect the battery.

Another job successfully done. Another $100’s dollars saved. Awesome job as always.

Reconnect the battery and stand back, right! lol, just kidding. Everyone knows your stuff works. We seen how you operate. :highfive

I’ve had the old Ford Excursion on my mind lately. I’m thinking of buying one to fix as a over the road tow vehicle. Ford made that
V-10 gas Beast. The Expedition can pull our camper well with the Load Sharing hitch but not without. Maybe just dreaming…

With a little common sense, airbags aren’t that bad to work around. With that being said, I have seen people do some really dumb stuff around airbags, causing them to go off at work–I’m talking about leaving the vehicle at IGN ON during an investigation and flipping the airbag control module, causing all front and side curtain airbags in a $60k truck level of stupidity. Fortunately, we don’t keep these employees long (usually get caught doing something else that is a fireable offense), and airbag scrappage because of detonation is extremely rare. Sometimes we do have to purposely set them off before shipping.

Hey Rojo,

A tip i learn from training when Air bags first came out was lower your driver’s wind before disconnecting the battery. Also after disconnecting both ter.inals touch them together. After your repair connect the battery and rea h in the driver’s windows with your arm behind the steering wheel and roll the key on. If the air bag was to deply you or your arm would not be in harms way.
HTH

Excellent advice, certainly a much better procedure and one I will put in place with any future Airbag work. Thanks.